
Still need help?

This article explains the Email node that can be configured as part of Workflows. Learn more about using workflows here.
Note
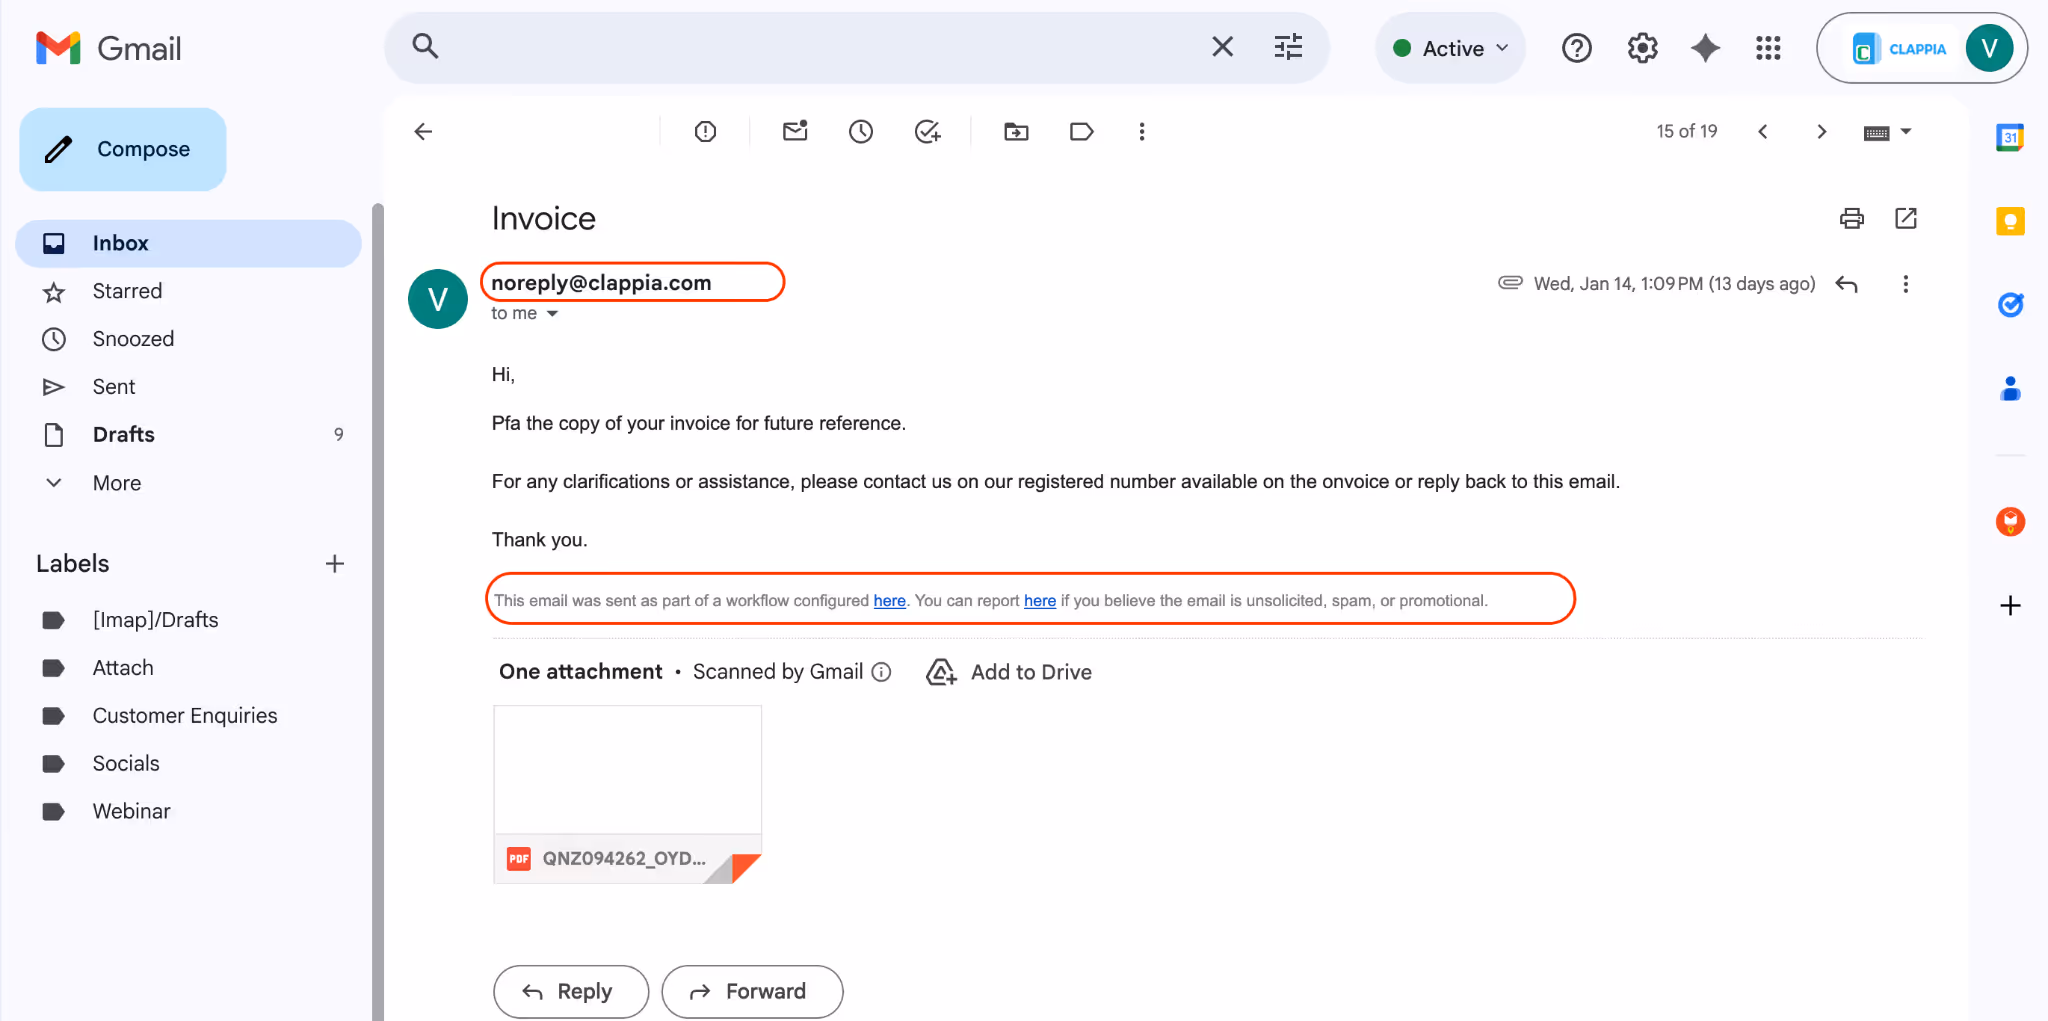
When an Email workflow step is executed, Clappia sends the email using a default sender address.
By default, all workflow emails are sent from noreply@clappia.com. This is the system email address used by Clappia when no custom email configuration is applied. Recipients will see this email address as the sender unless SMTP settings are configured.
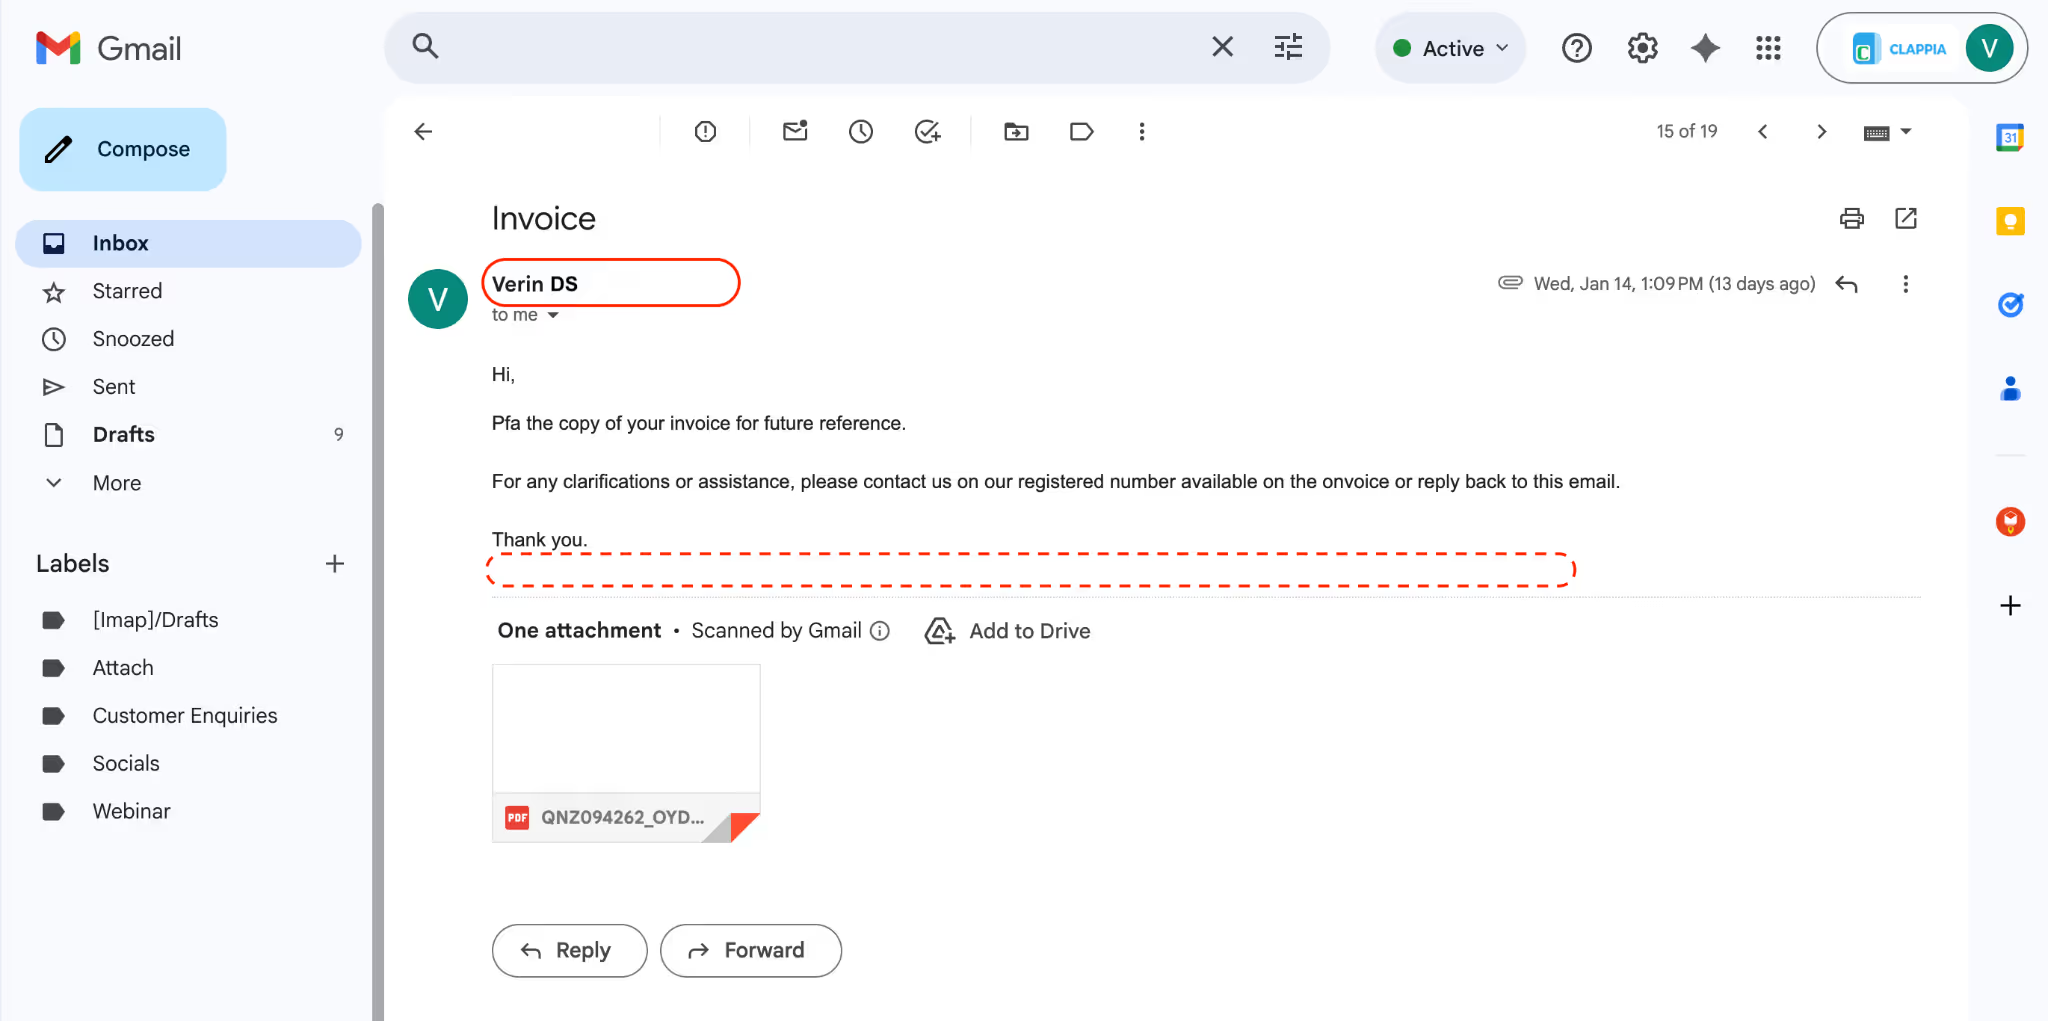
If SMTP is configured at the workplace level or app level, this default behaviour changes. In this case, emails are sent using the email account that is connected through SMTP instead of noreply@clappia.com. This allows workflow emails to be sent from your own company or team email address.
When SMTP is used, the email is sent directly through the connected email account. Because of this, the standard Clappia email footer is not included in SMTP-sent emails. Only the subject, body content, and any attachments configured in the Email workflow step are sent.
This behaviour applies to all Email workflow steps that use SMTP, regardless of how the workflow is triggered.
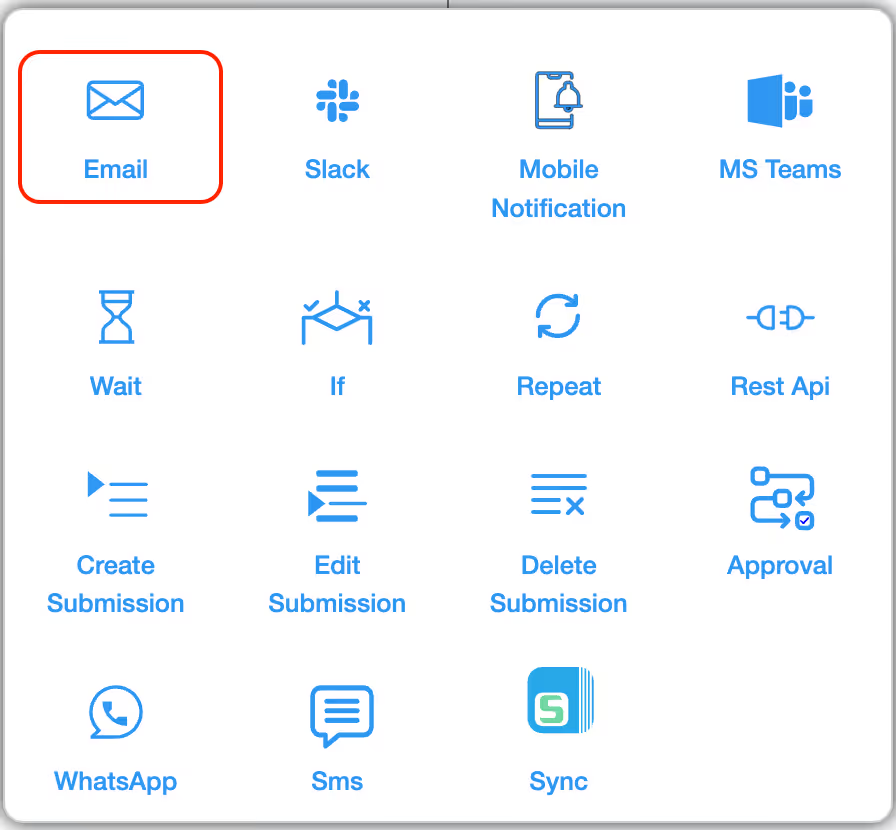
Click on the block and start editing on the panel that appears on the right side.

This is the name that appears in the Workflow on the left side. If there are multiple Email nodes in the workflow, set different step names like Email To Manager, Email to Director etc.
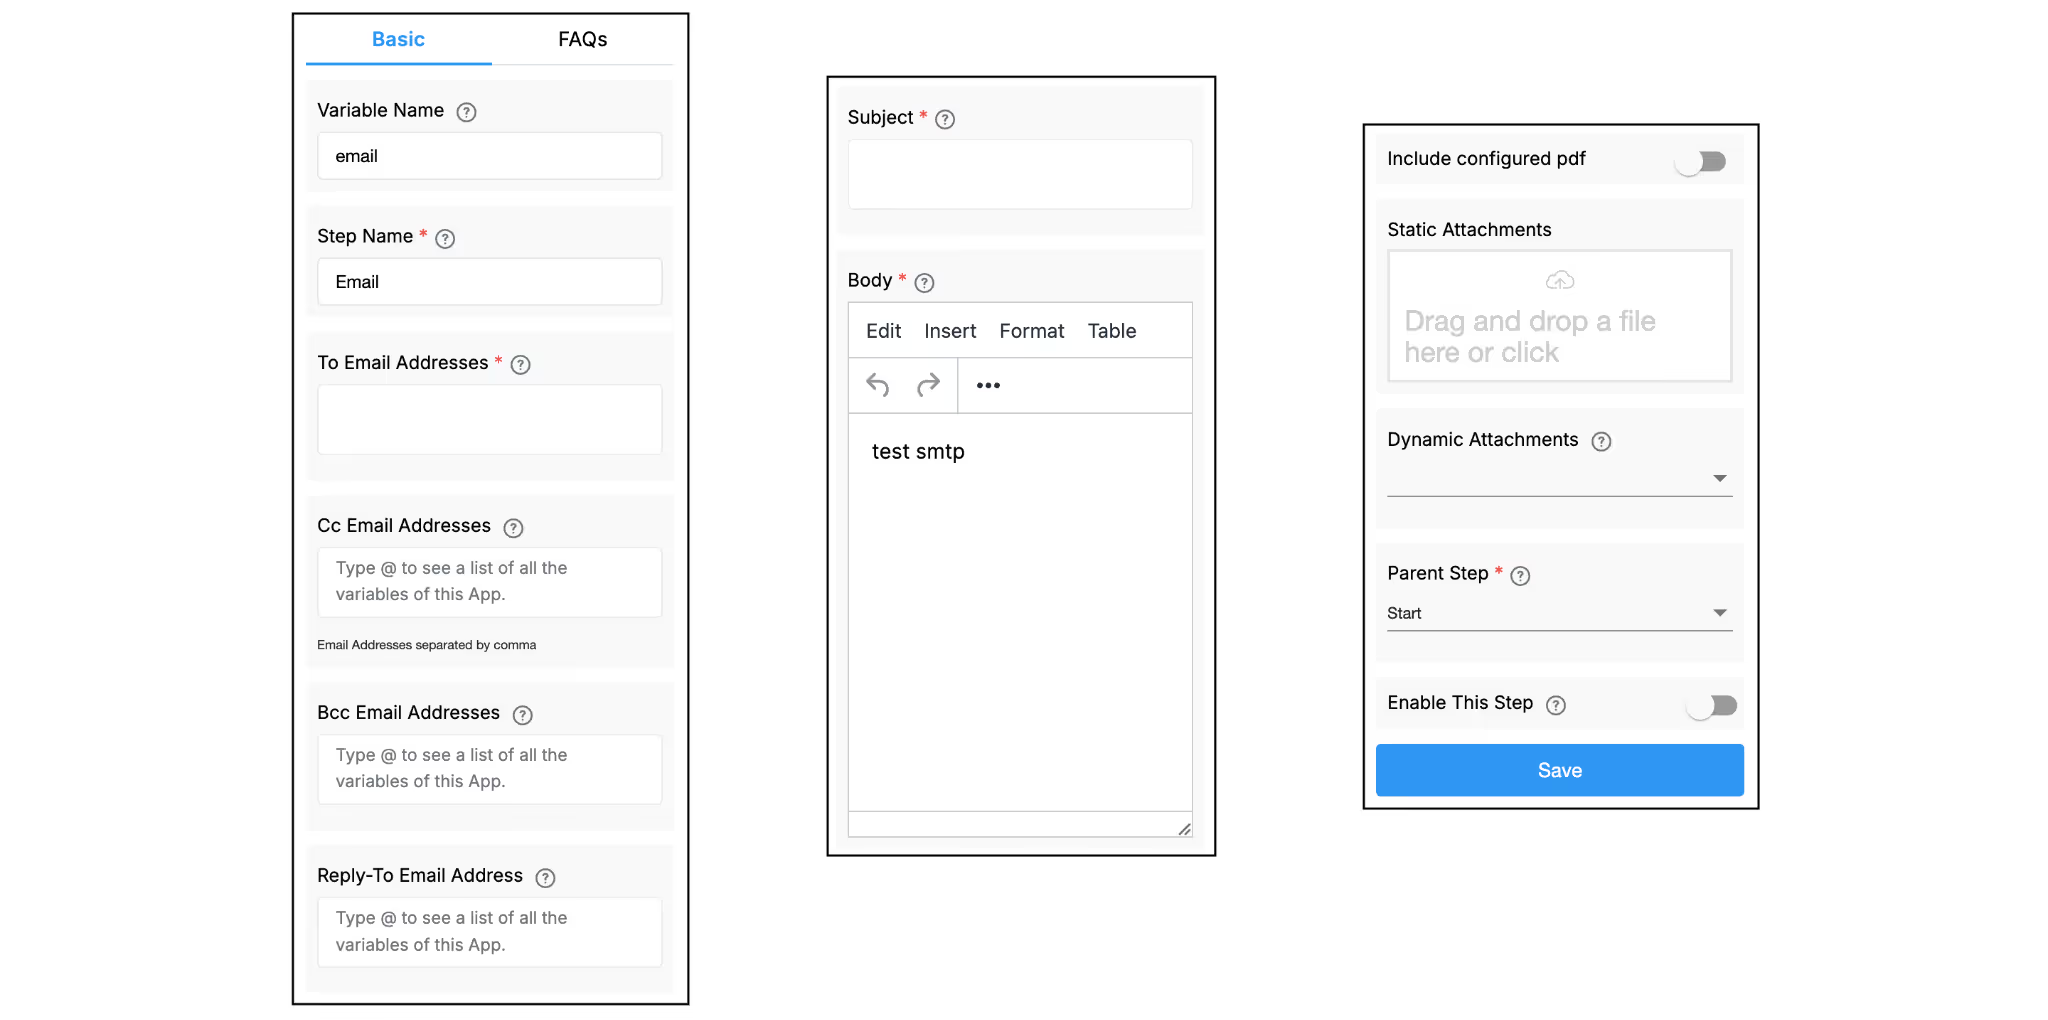
Comma-separated list of email addresses to which the email notification will be sent. We can enter static email addresses or use @ to use any email variable defined in the app. Learn more about using variables in workflows here.

Comma-separated list of email addresses which will be Cc'ed in the email notification. Configured in the same way as To Email Addresses.
Comma-separated list of email addresses which will be Bcc'ed in the email notification. Configured in the same way as To Email Addresses.
Enter an email address here if you want recipients of this workflow email to be able to reply directly.
When configured, replies from the recipients will not go to noreply@clappia.com (or the SMTP sender email) but instead will be received at the email ID specified in the Reply-To Email Address field.
You can either type a static email address or use @ to select a field from the app that would contain email ids in the submission.
This is useful if, for example, you want customer replies to go to your support mailbox, or manager replies to go to a designated team member’s email.
Subject of the email notification. It can be a fixed subject or it can also use variables defined in the app. Learn more about using variables in workflows here.


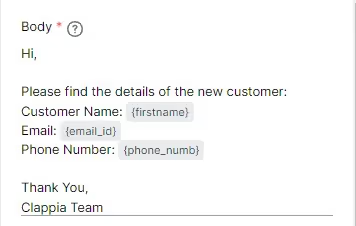
Body of the email notification. It can also use variables defined in the app. Learn more about using variables in workflows here.
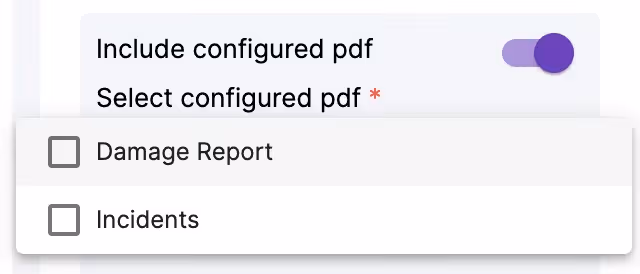
Use this option to include dynamic attachments from the Print Settings of the app. Know more about configuring Dynamic Print templates here. If you have configured multiple print templates for the app, you can choose one of those templates, using which a pdf will be generated and included in the email.
Drag and drop a file or click on this box to upload a file from your device to attach the file along with the email.
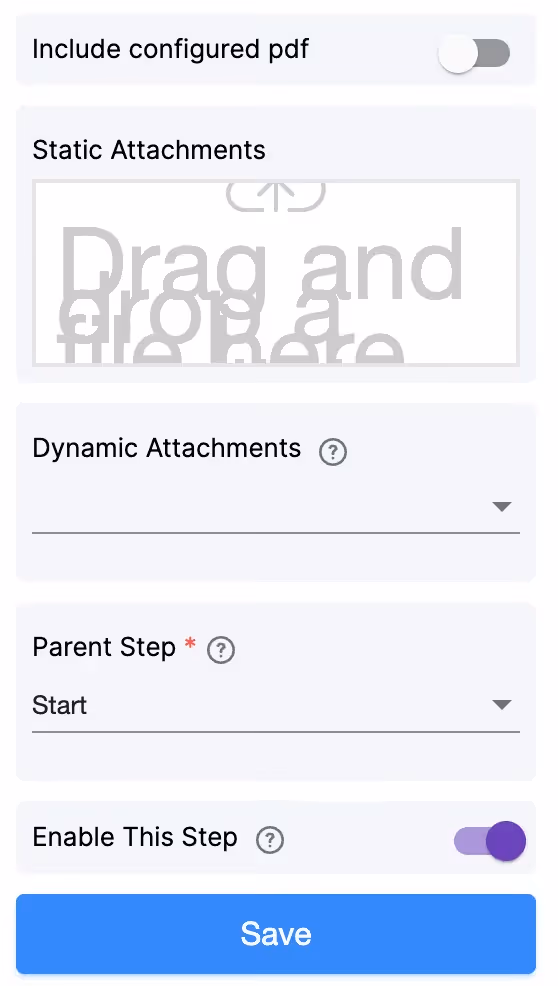
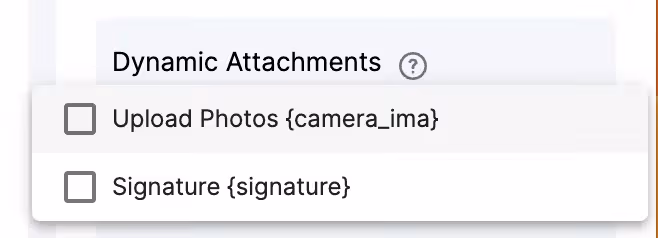
Use this option to attach the ‘signature’ field or ‘camera, images & files’ field entries as attachments in the email. Any signatures or images uploaded to the app will be added separately as attachments to an email notification.
The Reply-To Message ID option is used when you want an email sent from this Email node to be treated as a reply to an existing email conversation, instead of starting a new one.
When a Message ID is provided here, Clappia includes it in the outgoing email so that email clients can associate the message with an existing thread.
This option is commonly used in email-threading scenarios, such as when incoming emails are first captured into Clappia and responses are sent back as part of the same conversation.
For a complete walkthrough of one such setup, including capturing and reusing Message ID, refer to the Email Thread Setup guide.
The Parent Step determines where the Email workflow step is placed within the workflow flow.
When multiple workflow steps are added to a flow (such as If, Code, Find Submissions, or other steps), the Email step can be placed under any of those steps. This controls when the email is sent and under which condition or path it should run.
By changing the Parent Step, you can move the Email step to execute after a specific workflow step instead of running immediately after the trigger. This is useful when emails should be sent only after certain checks, conditions, or actions are completed.
This step is enabled by default. Disable this step for the node and the whole workflow below the node to stop from executing.
Workflows in Clappia run on individual submissions, such as when a user submits or manually edits a record. However, when using Bulk Upload or Bulk Edit from the Submissions tab, workflows are not triggered, even though new submissions may be added or existing ones updated.
This is because workflows are designed to process one submission at a time. Triggering them for bulk operations can lead to incomplete or inconsistent results, especially for complex workflows.
If you need workflows to run after a bulk operation, currently you will need to open each submission manually and save it. This will count as an edit and trigger the workflow normally.
<iframe width=\"200\" height=\"100\" src=\"https://www.youtube.com/embed/Tb3hAEEVrwc\" title=\"Receive Emails through Workflows ● Clappia App Building ● No-Code Low-Code Platform\" frameborder=\"0\" allow=\"accelerometer; autoplay; clipboard-write; encrypted-media; gyroscope; picture-in-picture; web-share\" allowfullscreen></iframe>
<iframe width=\"200\" height=\"100\" src=\"https://www.youtube.com/embed/3jkwP8S30gU\" title=\"Camera, Image & Files Forms Apps Without Coding ● Clappia No-Code Low-Code Platform\" frameborder=\"0\" allow=\"accelerometer; autoplay; clipboard-write; encrypted-media; gyroscope; picture-in-picture; web-share\" allowfullscreen></iframe>
L374, 1st Floor, 5th Main Rd, Sector 6, HSR Layout, Bengaluru, Karnataka 560102, India
3500 S DuPont Hwy, Dover,
Kent 19901, Delaware, USA


3500 S DuPont Hwy, Dover,
Kent 19901, Delaware, USA
L374, 1st Floor, 5th Main Rd, Sector 6, HSR Layout, Bengaluru, Karnataka 560102, India
.svg)
